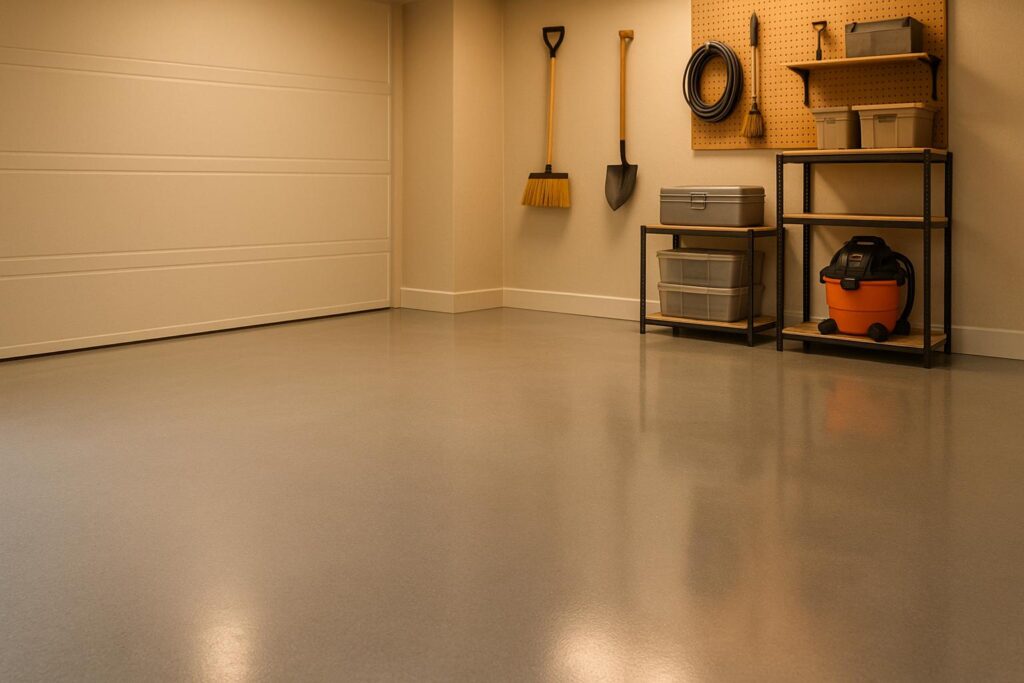
A garage often serves as more than just a place to park vehicles. It’s a workspace, a storage area, or even an extension of your home. Yet, many garages suffer from unsightly floors – stained with oil, marred by discoloration, and plagued by cracks or dust. A well-applied epoxy coating can completely transform your garage floor, giving it the polished, durable look of a car showroom. In this guide, we’ll walk you through the precise steps to achieve professional results, while addressing common challenges and offering tips for optimal outcomes.
Why Epoxy Coatings?
Epoxy coatings are a game-changer for flooring, whether it’s a residential garage, a high-traffic commercial area, or an industrial workspace. These coatings not only enhance aesthetics but also provide a durable, low-maintenance, and functional solution to flooring issues. Epoxy is resistant to oil, gasoline, salt, and heavy foot traffic, making it ideal for diverse applications. However, achieving a flawless finish hinges on one crucial factor: preparation.
Step 1: Preparation Is Key
Before diving into the application process, it’s essential to properly prepare the concrete surface. Skipping these steps can lead to poor adhesion, peeling, or other issues down the line.
Inspect and Test the Surface
- Check for sealers: If your floor has been previously sealed, ensure it’s still bonded. Use a razor to cut an "X" into the surface and press duct tape over the cut. Peel it back – if sealer comes off with the tape, it must be removed before coating.
- Test for moisture: Tape a plastic sheet (about 2×2 feet) to the floor and leave it overnight. If there’s condensation under the plastic, the floor is too damp for epoxy application.
- Inspect for damage: Cracks, chips, and excessive dust need to be addressed. Remove loose material and clean thoroughly.
Remove Stains and Grease
Garage floors are often riddled with oil or grease spots. These must be eliminated for the epoxy to bond properly:
- Wet the spots with a hose.
- Apply a degreaser and scrub with a stiff-bristle brush.
- Wipe away residue with absorbent rags or paper towels.
- Rinse thoroughly and dry the surface.
Clean and Etch the Floor
To ensure a strong bond, the concrete must be etched:
- Use an etching compound (often included in epoxy kits). Mix the compound with water in a plastic watering can.
- Pre-wet the floor and pour the solution over it in 10×10-foot sections. Scrub it into the surface and rinse before moving to the next section.
- After completing all sections, give the floor a final rinse and remove excess water with a squeegee.
Step 2: Mixing the Epoxy
Epoxy coatings come in two parts – an activator (Part A) and a base (Part B). For a safe, slip-resistant surface, consider adding an anti-skid additive during this step.
- Mix Part A into Part B and stir until the color is uniform.
- Add the anti-skid additive and mix thoroughly.
Step 3: Applying the Epoxy Coating
Tools You’ll Need:
- Paintbrush for edgework
- Roller with a 3/8-inch nap
- Paint tray with ribbed portions
- Decorative paint chips (optional but included in many kits)
Application Tips:
- Start with the edges: Use a brush to paint a 4-inch border around the perimeter of the floor.
- Roll in sections: Work in 4×4-foot sections, using even, overlapping strokes. Keep a "wet edge" to avoid lap marks and maintain a uniform gloss.
- Add decorative details: Sprinkle paint chips evenly over each freshly coated section before moving to the next.
- Repeat adjacent sections: Continue to coat and chip until the entire floor is complete.
Step 4: Curing and Final Touches
Epoxy coatings require curing time to achieve their full strength and durability. Once cured, the coating will resist heavy weights, hot tires, chemicals, and moisture.
- Curing time: Follow the manufacturer’s recommendations, but generally, you’ll need to wait at least 24–72 hours before walking or driving on the surface.
- Maintenance: Once applied, the floor is easy to clean with basic sweeping and occasional mopping.
Key Benefits of Epoxy Coatings
Once completed, your garage floor will boast:
- Durability: Resistant to oil, heavy foot traffic, and wear and tear.
- Aesthetic appeal: A sleek finish that enhances your space.
- Functionality: Non-slip, easy-to-clean, and long-lasting.
Key Takeaways
- Preparation is everything: Proper cleaning, testing, and etching ensure a long-lasting epoxy bond.
- Moisture check: Avoid applying epoxy on damp surfaces to prevent peeling.
- Degrease thoroughly: Oil spots can compromise adhesion – remove all contaminants before applying.
- Use an anti-skid additive: This improves safety, especially in high-traffic or wet areas.
- Work in manageable sections: Prevent lap marks by keeping a wet edge and working systematically.
- Add personality: Decorative paint chips elevate the look of your floor while masking imperfections.
- Cure properly: Allow the epoxy to fully set before exposing it to heavy use.
- Long-term benefits: Enjoy a floor that’s durable, low-maintenance, and visually appealing.
Conclusion
With a bit of preparation and patience, you can transform your stained, unsightly garage floor into a polished, showroom-quality surface. Epoxy coatings offer homeowners and property managers in Pennsylvania a practical, cost-effective solution for both residential and commercial spaces. By following these steps, you can achieve professional results that elevate the aesthetic and function of your floors for years to come.
An upgraded garage floor isn’t just about appearances – it’s a valuable investment in your home’s durability and usability. So, roll up your sleeves, gather your tools, and get ready to create a space you’ll be proud to show off!
Source: "HouseCalls Season 21- Epoxy Coating Garage Floor – Closet System – Make a Compass for Large Circles" – HouseCalls, YouTube, Sep 30, 2025 – https://www.youtube.com/watch?v=HRQ8VlLsJD4