Concrete floors are a popular and durable choice for residential, commercial, and industrial spaces, but achieving a polished and long-lasting epoxy-coated finish requires precision, skill, and attention to detail. While it may seem like epoxy flooring is just about pouring and spreading, the real success lies in the preparation. This guide, inspired by an expert-led walkthrough, outlines the essential steps and techniques to properly prep a concrete floor for epoxy coating, ensuring a seamless and resilient result.
Whether you’re upgrading a garage, patio, pool deck, or high-traffic industrial area, this article will equip you with the knowledge to confidently address the challenges of prepping concrete floors for epoxy application.
Why Proper Preparation Matters
Before diving into the process, it’s crucial to understand why prepping a concrete floor is perhaps the most critical step in epoxy application. As the expert in the video emphasizes: "80% of the job is in the prep work."
Poor preparation can lead to adhesion issues, premature wear, and unsightly flaws. Even with high-quality epoxy products, improper prep work will result in failure over time. On the other hand, meticulous preparation ensures the epoxy bonds strongly with the surface, creating a durable, one-piece seamless finish that resists cracking, chipping, or peeling.
Step-By-Step Guide to Prepping a Concrete Floor for Epoxy Coating
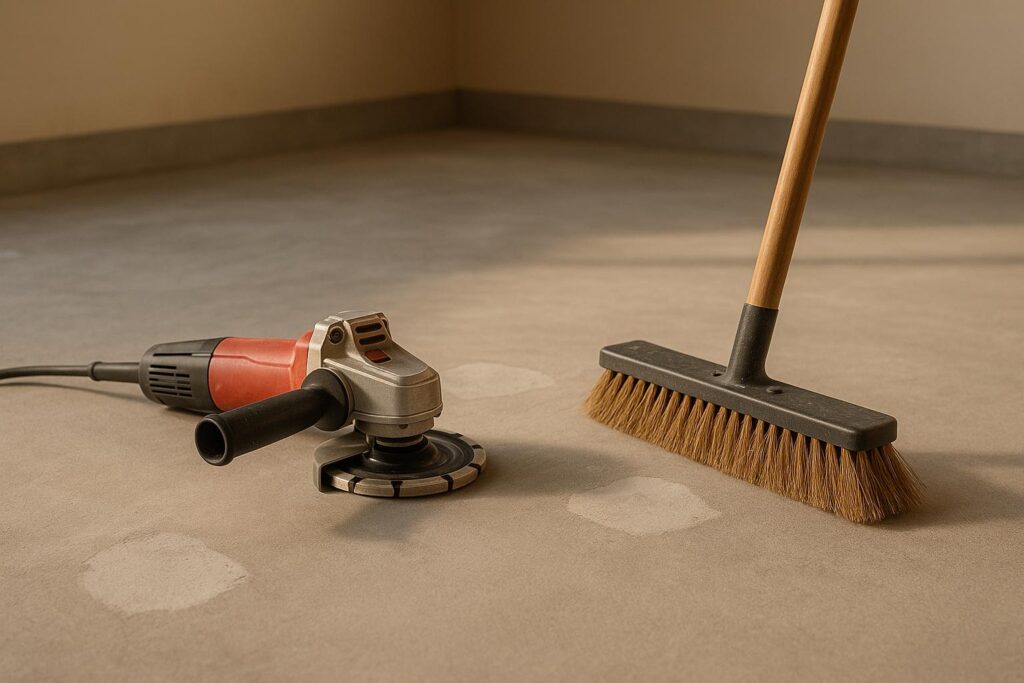
1. Initial Cleaning and Inspection
- Start with a clean slate: Sweep the entire area to remove dust, debris, and any objects like metal chunks or pebbles that could damage the grinding equipment.
- Inspect the floor: Check for cracks, chips, or imperfections. These will need to be addressed later to create a smooth surface.
- Remove obstacles: Ensure edges, corners, and expansion joints are accessible. Clear away anything that could interfere with grinding or vacuuming.
2. Grinding the Floor
- Use a Diamond Grinder: Equipped with aggressive 16-18 grit diamond heads, the grinder is used to scratch the floor’s surface. This roughens the concrete, allowing the epoxy to bond effectively.
- Focus on details: Pay close attention to high-traffic areas and corners. A uniform scratch pattern across the surface indicates the floor is prepped correctly.
- Minimize dust: While grinders are connected to vacuums, some dust will inevitably remain. After grinding, clean thoroughly to remove residual particles.
3. Filling Cracks and Imperfections
- Apply a two-part joint filler: Fast-setting patch material mixed with sand is ideal for filling in cracks, chips, and joints. Sand prevents the filler from sinking deeply and reduces material waste.
- Let it set: Allow the filler to harden for approximately 20 minutes before sanding or grinding the areas again.
- Smooth the surface: Once the filler is set, use a hand grinder to level the patched areas, ensuring there are no bumps or uneven spots.
4. Vacuuming and Final Cleaning
- Invest in a high-quality vacuum: Industrial vacuums with HEPA filters are crucial for capturing fine concrete dust and controlling silica exposure.
- Vacuum multiple times: Go over the entire floor, including edges and corners, to ensure no dust or debris remains.
- Ensure a dust-free environment: Dust can compromise the epoxy’s adhesion and lead to unsatisfactory results.
5. Mixing and Applying Epoxy
- Set up a mixing station: Ensure all tools and materials, including rollers, scrapers, and epoxy components, are ready for use.
- Apply epoxy evenly: Pour epoxy in controlled sections, squeegee it out, and back-roll it for a smooth finish.
- Add texture for safety: Sprinkle aluminum oxide into the epoxy for added slip resistance, especially in areas prone to moisture like garages or pool decks.
6. Finishing Touches
- Apply the clear coat: Once the base layer and flakes are set, a clear epoxy or urethane coat seals the floor, enhancing its durability and shine.
- Inspect the finished product: Check for uniformity, smoothness, and proper adhesion. Clean edges, remove tape, and verify that no cracks or imperfections are visible.
The Benefits of Customization
One highlight of this professional epoxy project was the use of a custom flake blend that matched the client’s company colors – a combination of blue, silver, and gray. Customization allows property owners to reflect personal style or branding while benefiting from the durability of epoxy. Flakes also add texture and hide imperfections, making floors both functional and visually appealing.
Key Takeaways
- Preparation is essential: Proper grinding, cleaning, and filling are non-negotiable for a successful epoxy application.
- Invest in quality tools: Diamond grinders, HEPA vacuums, and industrial-grade materials ensure professional results.
- Custom finishes enhance aesthetics: Opt for custom flake blends or color schemes to tailor your space’s look.
- Safety matters: Add textured materials like aluminum oxide to improve slip resistance.
- Trust the process: While the prep work is labor-intensive, it guarantees a durable and seamless finish.
Conclusion
Transforming a concrete floor with epoxy coating is more than a surface-level improvement – it’s an investment in longevity, safety, and aesthetics. By dedicating time and effort to proper preparation, you can ensure the epoxy adheres flawlessly, leaving you with a floor that’s not only beautiful but also built to withstand years of wear and tear.
If you’re a homeowner, commercial property owner, or industrial manager considering epoxy flooring, remember: the secret to a flawless finish lies in the details of preparation. Follow the steps outlined above, and you’ll achieve a floor that combines form and function seamlessly.
Source: "Best way to prep for epoxy coating" – Intricate Concrete, YouTube, Oct 13, 2025 – https://www.youtube.com/watch?v=sNSF1sc-vd8