A well-finished garage floor is more than just a visual upgrade – it’s an investment in durability, functionality, and safety. If you’re a homeowner, commercial property owner, or industrial facility manager in Pennsylvania, you’re likely familiar with the challenges of maintaining flooring that can withstand heavy usage while looking great. In this guide, we explore how to resurface and epoxy-coat a garage floor step by step, offering transformative tips and insights inspired by a DIY project. Whether you’re dealing with pitting, stains, or general wear and tear, this article will help you achieve professional-looking results with a long-lasting finish.
Why Resurfacing and Epoxy Coating Matters
Concrete garage floors endure constant pressure – from heavy vehicles and foot traffic to exposure to chemicals, dirt, and moisture. Over time, this leads to pitting (spalling), grease and salt stains, and overall wear. Applying an epoxy coating doesn’t just improve the aesthetics; it:
- Protects against further damage by sealing the surface.
- Prevents stains and chemical absorption, making maintenance easier.
- Enhances safety with anti-slip options.
- Adds durability for high-traffic areas.
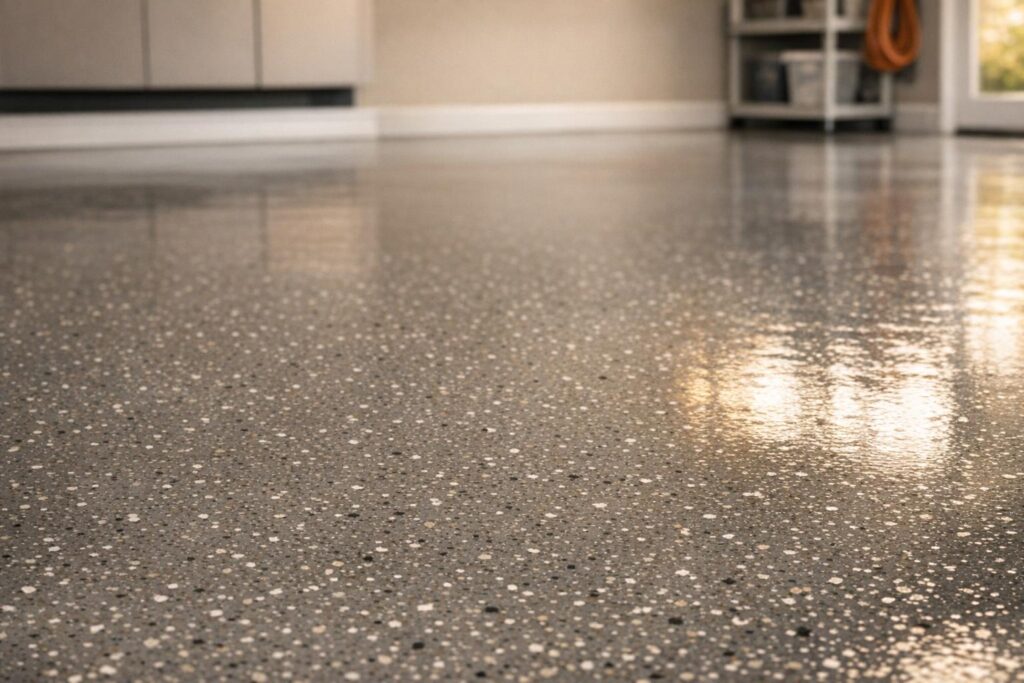
- Boosts visual appeal with decorative finishes like flakes.
The process outlined below provides a practical guide for resurfacing and epoxy-coating your garage floor to achieve these benefits.
sbb-itb-4b4bb37
Step 1: Preparing the Concrete Surface
Proper preparation is the cornerstone of a successful epoxy coating. A poorly prepped surface will result in peeling and uneven adhesion. Here’s how to get your floor ready:
1.1. Remove Surface Imperfections
To ensure the epoxy sticks properly, all bumps, ridges, and spills must be cleaned up. Use:
- Putty knife for scraping sticky spots.
- Wire brush (manual or drill attachment) to remove crusty areas or brittle concrete.
If your floor has grease spots, scrub them thoroughly with a degreaser. While some stains may not come out completely, you can address them later with a primer.
1.2. Deep Cleaning
After scraping, sweep the floor and power wash it to remove embedded dirt and dust. The pressure washing process ensures the epoxy adheres effectively by exposing a clean, porous surface. Once done, let the floor dry.
1.3. Moisture and Crack Inspection
Inspect for cracks and signs of moisture. Any cracks should be filled with a concrete crack filler, ensuring the surface is smooth. If moisture is present, consider priming those areas to improve epoxy adhesion.
Step 2: Resurfacing the Floor
For floors with significant pitting or unevenness, resurfacing is essential before applying epoxy.
2.1. Mixing Concrete Resurfacer
Choose a quality resurfacing product. Mix it in small batches, adding water gradually to achieve a consistency similar to creamy peanut butter. Avoid overly watery mixes, as they may weaken the bond.
2.2. Applying the Resurfacer
- Dampen the surface: Lightly wet the concrete to improve adhesion.
- Spread evenly: Use a trowel or rubber-faced float to spread the mix across the floor. Focus on filling gaps and smoothing edges.
- Feather the edges: Blend the resurfacer into the surrounding concrete for a seamless look.
Allow the resurfaced floor to cure for 24 to 48 hours before proceeding.
Step 3: Applying the Epoxy Coating
Once your floor is prepped and resurfaced, it’s time to apply the epoxy for a durable, polished finish.
3.1. Mixing the Epoxy
Epoxy comes in two parts: resin (Part A) and hardener (Part B). Mix them in a 2:1 ratio. For best results:
- Shake Part A to ensure it’s evenly mixed before combining.
- Mix thoroughly but quickly, as epoxy has a short working time (about 20 minutes).
Pro Tip: Consider preparing smaller batches to avoid rushing during application.
3.2. Spreading the Epoxy
- Pour directly on the floor: Work in sections to maintain control.
- Use a squeegee: This tool allows for precise control, spreading the epoxy evenly across the surface.
- Pay attention to edges: Use a putty knife for detail work along walls and door thresholds.
Decorative flakes can be sprinkled onto the wet epoxy for added texture and color. Allow the epoxy to cure for 24 hours before proceeding to the topcoat.
Step 4: Sealing with a Protective Topcoat
A topcoat is critical for protecting the epoxy finish and sealing in decorative elements.
4.1. Adding Anti-Slip Powder
Mix anti-slip powder into the clear topcoat to enhance safety, especially in areas prone to moisture.
4.2. Applying the Topcoat
Using a paint roller, apply the topcoat in thin, even layers. Work in sections, and double-check coverage under good lighting.
Let the topcoat cure for at least 24 hours before foot traffic and 3 to 5 days before allowing vehicles onto the surface.
Common Challenges and How to Address Them
Even with careful planning, a few issues may arise during your project. Here’s how to tackle them:
- Moisture on the Floor: Use a primer specifically designed for damp concrete.
- Uneven Adhesion: Check for areas with stains or previous sealing and consider etching or priming beforehand.
- Rushing the Epoxy Application: Mix smaller batches to give yourself adequate time.
These proactive steps will ensure long-lasting results.
Key Takeaways
- Preparation is key: Clean, scrape, and power wash the concrete for optimal epoxy adhesion.
- Resurfacing matters: Fill pitting and cracks to create a smooth base.
- Work in sections: Avoid rushing by tackling smaller areas at a time.
- Use the right tools: Squeegees and putty knives ensure precise application.
- Add safety features: Mix anti-slip powder into the topcoat for added grip.
- Allow curing time: Wait 24 hours for foot traffic and up to 5 days for vehicles.
- Don’t skip priming: For stained or damp areas, priming improves adhesion and longevity.
Conclusion
Resurfacing and epoxy-coating your garage floor is a rewarding DIY project that enhances both form and function. While it requires careful preparation and attention to detail, the result is a durable, attractive, and low-maintenance floor perfect for homes, commercial spaces, and industrial facilities. By following these steps and tips, you’ll transform your garage into a polished, professional-looking space that stands the test of time.
Source: "Garage Floor Resurface & Epoxy – Quick Version" – Building With Blake, YouTube, Dec 29, 2025 – https://www.youtube.com/watch?v=TgL-6R3z7Ws