When it comes to creating durable, aesthetic, and low-maintenance surfaces for both residential and commercial spaces, applying a topcoat is often the most critical step. This guide walks you through the process of correctly applying a newly reformulated fortified topcoat, ensuring a beautiful, long-lasting finish. Whether you’re working on countertops, patios, or high-traffic flooring, following these steps will help you achieve professional results.
Why Proper Topcoat Application Matters
A topcoat not only enhances the visual appeal of a surface but also provides a protective layer that shields it from wear and tear. For homeowners, property managers, and facility operators in Pennsylvania, where both aesthetics and durability are paramount, mastering the application of fortified topcoats ensures your spaces remain beautiful and functional over time. However, with new formulations like the fortified topcoat discussed here, it’s vital to adapt your techniques to get the best results.
This article details essential tips and step-by-step instructions for applying a fortified topcoat, covering everything from materials to environmental considerations.
sbb-itb-4b4bb37
Preparation Essentials: Tools, Materials, and Environmental Setup
Before diving into the application process, proper preparation is key. Here’s a checklist of what you’ll need and how to set up your workspace:
Materials and Tools:
- Fortified Topcoat Containers: Ensure you’re using the correct "Part A" and "Part B" components. Newly reformulated products often feature color-coded labels to prevent mix-ups (e.g., purple for gloss, yellow for matte).
- Rollers: Use a 3/8-inch nap roller (6 inches for general application) and a smaller 4-inch roller for detailed edges and tight spaces. Prepare both a wet roller (for application) and a dry roller (for smoothing, if required).
- Sandpaper: 220-grit sandpaper is recommended for surface preparation and corrections. Avoid using finer grits like 320, as they may create overly slick surfaces.
- Measuring Tools: Accurate measurement of the mix ratio is critical. Use the updated mix formula (more on this below).
- Thermometer and Hygrometer: Monitor temperature and humidity in your workspace for optimal results.
Environmental Conditions:
- Temperature and Humidity: For a smooth application, ensure the room is around 71°F with a relative humidity of 45%. If you’re in a dry climate (common in Pennsylvania winters), consider using a humidifier to slow the drying process and allow for proper working time.
Step-by-Step Guide to Applying the Fortified Topcoat
1. Product Mixing and Measurement
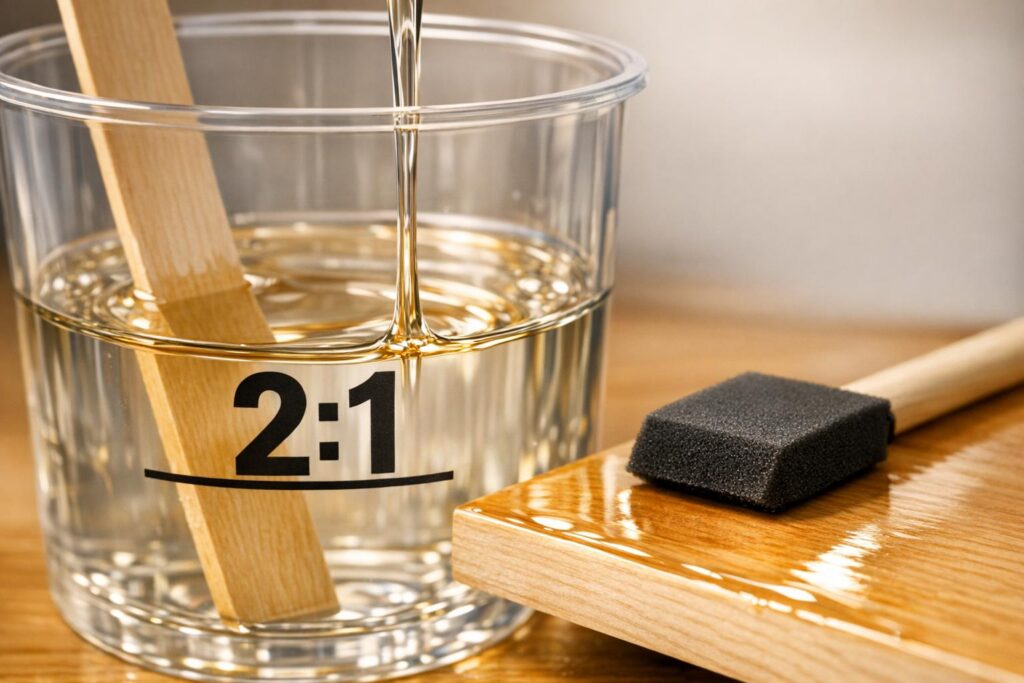
The newly reformulated fortified topcoat requires precise mixing to achieve the correct consistency. Use the updated mix ratio:
- Square Footage of Surface x 375 = Required Ounces of Product
Round up your calculation to the nearest divisible 2:1 mixable ratio. For instance, if your surface requires 5 ounces, round up to 6 ounces. This adjustment accounts for the slightly thicker formula and ensures proper coverage.
Pro Tip: Always mix just enough product to cover your surface and prime your roller. Avoid overestimating, as the product’s shelf life is only 1.5 months after opening.
2. Priming Your Tools
Saturate your rollers before starting. A properly primed roller ensures even application without streaks or bumps. Apply product to the wet roller, while keeping the dry roller on standby for touch-ups.
3. Initial Application
Pour a bead of topcoat onto the surface, then use your wet roller to spread the product evenly. Apply firm pressure to work the topcoat into the surface. A helper or "spotter" can assist in identifying any missed areas or dry spots.
- For edges and tight areas (e.g., around sinks), use the smaller 4-inch roller. Avoid pressing the larger roller into edges, as this can leave imprints.
Pro Tip: Good lighting is essential. Spot imperfections by angling light across the surface and inspecting from multiple vantage points.
4. Back Rolling for Smoothness
Once the surface is coated, perform a "back roll" with the wet roller to evenly distribute the topcoat and eliminate lines. Avoid overworking the surface, especially in low-humidity environments, as this can over-dry the product.
5. Optional: Adding Texture
For added scratch resistance, consider performing an additional back roll after the initial coat starts to settle. This creates slight texture without compromising the matte or gloss finish.
6. Drying and Inspection
Allow the topcoat to set for 4–5 hours, during which it will matte down and become lightly touchable. Inspect the surface for any flaws. If imperfections or uneven coverage appear, sand lightly with 220-grit sandpaper, clean the surface, and reapply using the same method.
Real-World Results: What to Expect
After completing the application process, the fortified topcoat transforms your surface into a smooth, durable, and visually stunning finish. In the video demonstration, the final result showcased:
- Smooth Texture: The surface had no visible bubbles or bumps, thanks to the reformulated product’s improved deformer properties.
- Matte or Gloss Perfection: Depending on your choice of finish, the topcoat dried uniformly, enhancing both functionality and aesthetics.
- Added Durability: The optional textured roll added subtle scratch resistance, ideal for high-traffic areas.
Key Takeaways
- Correct Mixing is Crucial: Use the updated formula (surface area x 375) and round up to ensure proper coverage.
- Environmental Control: Maintain optimal temperature (71°F) and humidity (45%) to avoid premature drying or uneven application.
- Tool Preparation Matters: Prime both wet and dry rollers before starting to ensure smooth application.
- Back Rolling Technique: Use firm, even pressure to distribute the product, and inspect under good lighting to catch imperfections.
- Reapplication Fixes Mistakes: If coverage is uneven, sanding with 220-grit sandpaper and reapplying can resolve the issue.
- Product Life Cycle: Pay attention to shelf life (1.5 months for the fortified topcoat) to avoid product waste.
Conclusion
Applying a fortified topcoat requires precision, preparation, and the right techniques, but the results are worth the effort. Whether you’re revitalizing a countertop, garage floor, or high-traffic industrial surface, the process ensures not only a stunning appearance but also long-term durability. With these tips and tricks, you can confidently transform your spaces into polished, professional-grade finishes.
For Pennsylvania property owners looking to invest in durable, low-maintenance, and cost-efficient solutions, mastering the topcoat application process is a game-changer. By following the guidelines outlined here, you’ll protect your investment while achieving a flawless finish that stands the test of time.
Source: "NEW Fortified Topcoat Tutorial | Updated Mix Ratio + Perfect Application Method" – Artisan Design Concepts, YouTube, Dec 12, 2025 – https://www.youtube.com/watch?v=bHLHOazSB3Q